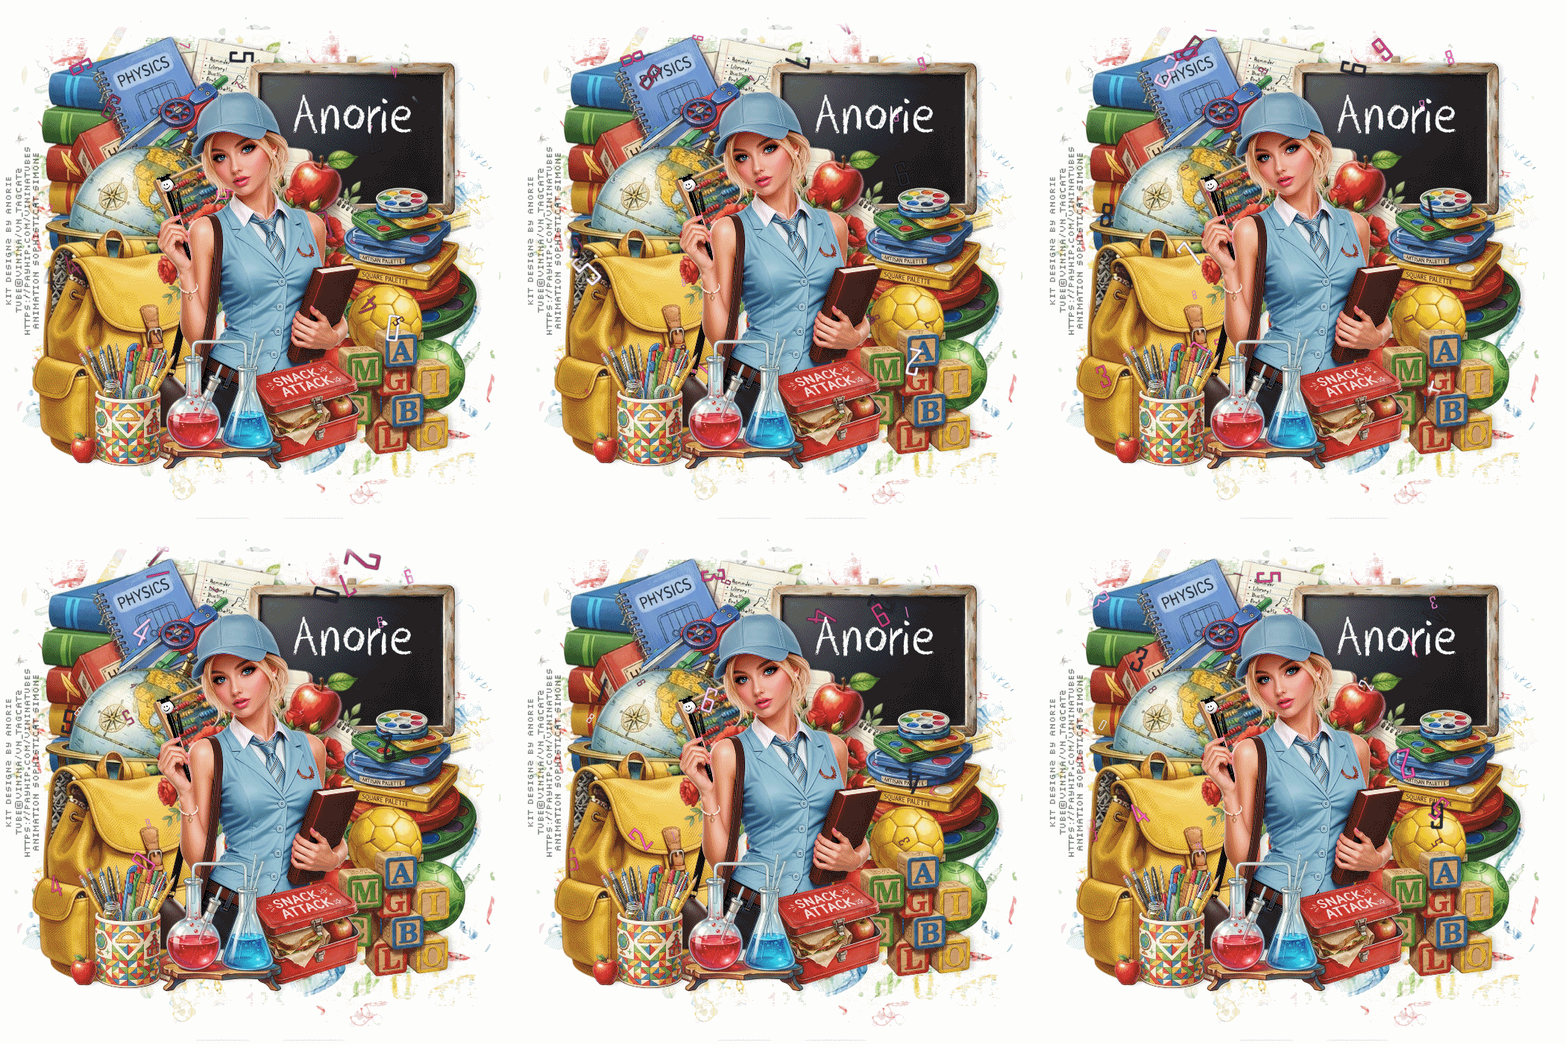
Open a new transparent image 700 x 700 - you can resize later if you like Flood fill with white Open paper 6, resize to 700 width, paste as new layer Layers, load/save mask, load mask from disk Select mask 62 with source liminance, hide all mask and fit to canvas checked Merge group Open element 60, move to the top left Open element 39, resize to about 410 width, move to the top left over the books Open element 26, resize to about 165 width, move to the top left over the bottom part of the physics book Open element 63, move to the left side Open element 68, move down a bit and to the left side Open element 95, resize to about 290 width, move to the top right Open element 83, paste as new layer Open element 22, resize to about 220 width, move up a bit and to the right Open element 20, flip horizontal, resize to about 265 width, move down and to the right Open element 30, resize to about 165 width, move to the bottom right Open your Vi Nina tube, resize to about 315 width, paste as new layer Open element 11, resize to about 160 width, move down in front of the woman next to the blocks Open element 58, resize to about 190 width, move down in front of the backpack Open element 52, resize to about 175 width, move down next to the lunchbox With your selection tool, outline the part of the woman below the test tubes, edit cut, and select none Go through your layers and add drop shadows to your elements - I used 0, 5, 5, 5, black IF YOU ARE NOT ANIMATING If you plan to resize do that now before adding any text Add your CR and any credits - I used Pixelette, black Conver to raster layer Reduce the opacity to 60%, rotate left and move to the left side For my text I used Crayon Crumble, white Convert to raster layer and move over the chalkboard Delete the white background layer, merge visible, and save as a png file IF YOU ARE ANIMATING Add your CR, credits and text as above Starting with the layer below the woman, merge down to and including the white background layer Copy the merged bottom layer and go to AS Edit, paste as new animation Duplicate until you have 10 frames and then minimize for now Open animation 1193 from package 422 Edit, select all Animation, resize animation to 65% Edit, copy and then close Maximize your tag frames Edit, select all Make sure your slider is all the way to the left so Frame 1 is on your screen Edit, paste into selection - position in Frame 1 and click once to set it in place Minimize for now Back to PSP and close the eye on the merged bottom layer Click any other layer to activate it Edit, copy special, copy merged Go to AS and paste as new animation Duplicate until you have 10 frames Edit, select all Edit, copy and then close Maximize your tag frames Edit, paste into selected frame - Frame 1 - position and then click once to set it in place Save as a gif file Thanks for trying my tut - enjoy your tag! |