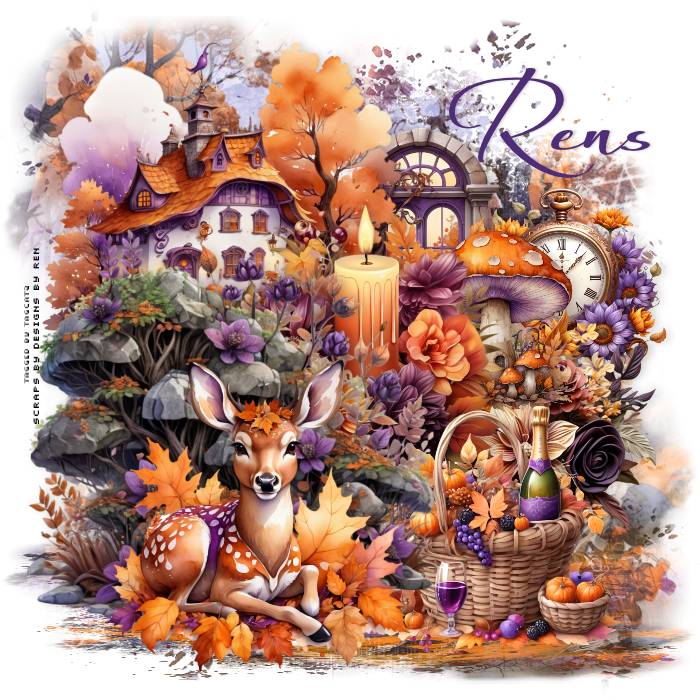
Open a new transparent image 700 x 700 - you can resize later if you like. Open paper 08, resize to 700 x 700, copy, close and paste as new layer Layers, Load Save Mask, Save mask from disk, choose MB&SW #65 with Source Luminance, Fit To Canvas and Hide All Mask checked Layers, merge, merge group Layers, duplicate Pull the arrow down from the top until you have something like this:  Open element 14, resize and move to the top left Open element 24 resize and move to the right of the house Open element 17, resize and move to the right of the window Open element 32, resize and move below and overlapping the clock Open element 52, resize and move so it's overlapping both the clock and the flowers Open element 28, resize and move so it's just about center on the image Open element 56, resize and move to the bottom right overlapping the flowers Open element 69, resize and move down and to the left side Open element 63, resize and move to the bottom left Go through your layers and add drop shadows to your elements I used 0, 4, 17, 13, black If you're going to resize, do that before adding any text For the credit layer I used Pixelette, black, no drop shadow For the name, I used Always Black with a drop shadow of 0, 2, 17, 3, black - any nice script font would do Layers, merge, merge visible and save as a png file. Enjoy your new tag! |