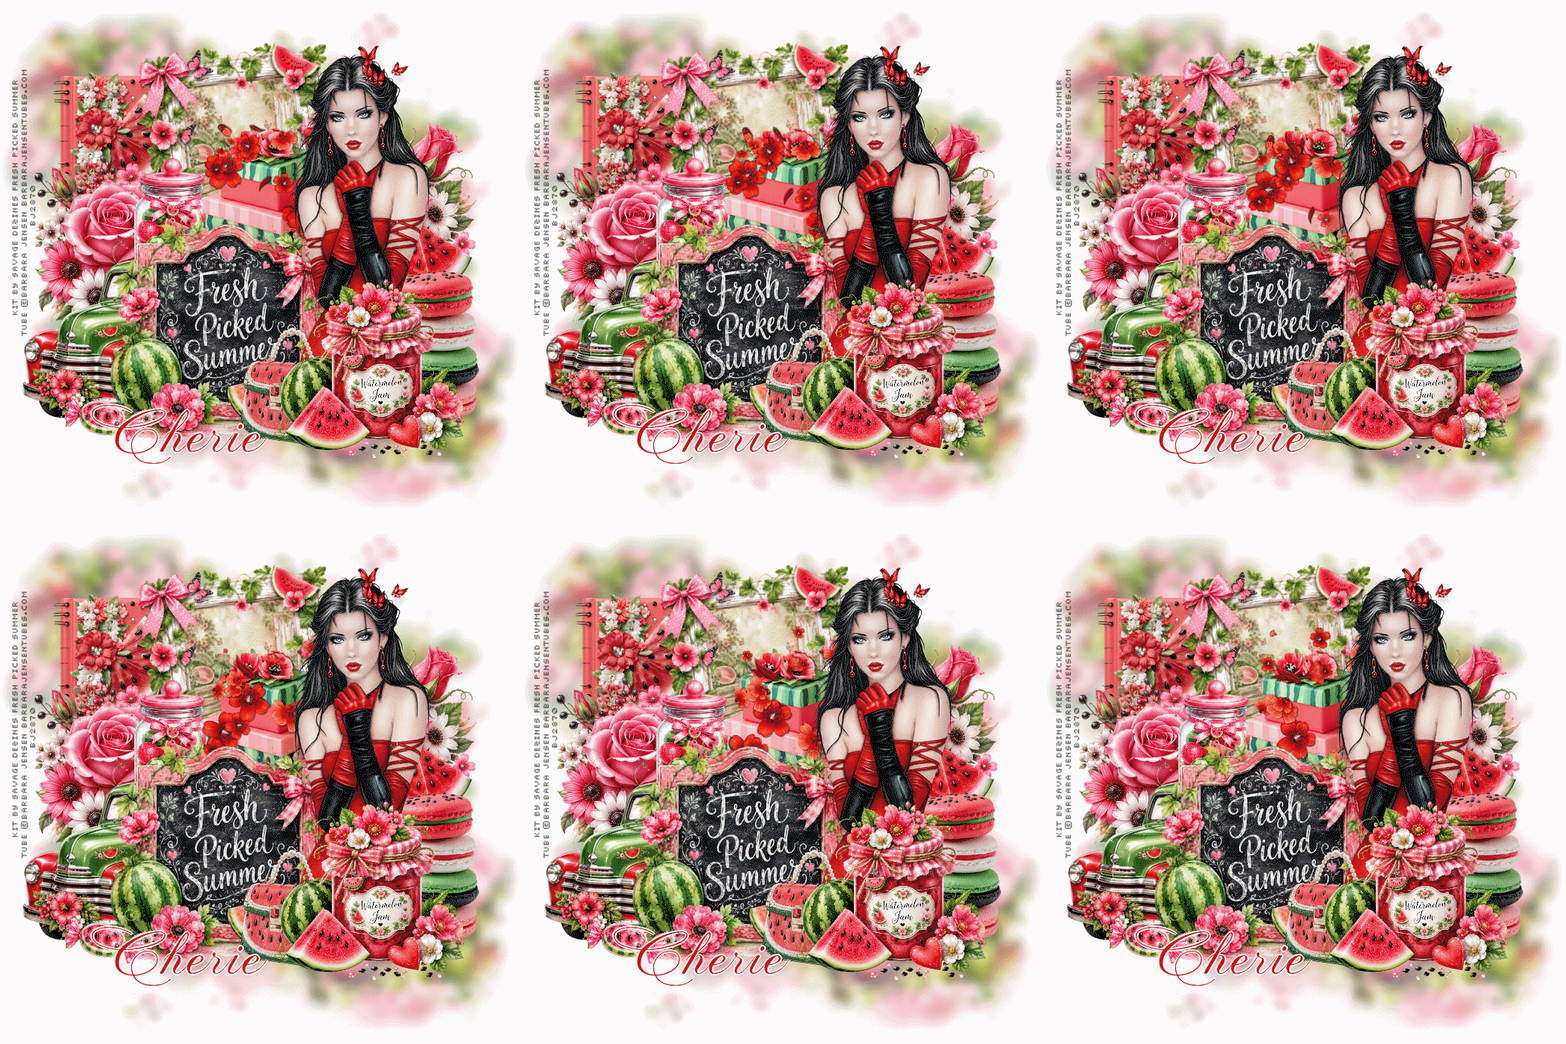
Open AS and minimize for now In PSP open a new transparent image 700 x 700 - you can resize later if you like Flood fill with white Open paper 8, resize to 700 width, paste as new layer Layers, load/save mask, load mask from disk with source luminance, fit to canvas and hide all mask checked Merge group Adjust Blur, Gaussian Blur, 6 Open the tube you're going to use and resize it, move right Click your mask layer to activate it Open element 96, resize and move to the top left Open element 17, resize and move to the right side Duplicate this layer and move to the left side Open frame 8, resize and move up With your magic wand, click inside the frame Selections, modify, expand 8 New raster layer Open one of the papers, copy and paste into selection Move this layer below the frame layer Select none Click the frame layer to activate it Merge down Rotate left a bit Open element 3, resize and move to the bottom left Open element 39, resize and move up a bit so it overlaps the bottom of the frame Open element 23, resize and move up a bit and to the left Open element 76, resize and move to the right side Open element 10, resize and move down Open element 25, resize quite small and move to the bottom left Click yoor tube layer to activate it Open element 60, resize and move to the bottom Open element 2, resize and move down and to the right Go through your layers and add drop shadows to your elements I used 0, 5, 17, 12, black If you are NOT animating Resize now if you're going to do so, before adding any text Add your copyright info and credits I used Pixelette, black For my text, I used PrintsCharming, #c81817 in background, foreground closed Convert to raster Selections, select all Selections, float Selections, defloat Select, selection borders, outside, 2, white Layers, new raster layer Fill the selection with white Give it a drop shadow - I used 0, 5, 5, 5, black Select none Merge down and position where you want it Merge visible and save as a png file TO ANIMATI Add your credits and text as above Starting with the boxes layer, merge down to and including the white background layer Edit, copy and go to AS Edit, paste as new animation Duplicate until you have 17 frames and then minimize for now Open animation 189 from Sophisticat Simone's Package 63 Edit select all Animation cull animation to 1 frame in 5 You should now have 17 frames Animation, resize animation to 60% Edit, copy and then close without saving Maximize your tag frames Edit, select all Make sure your slider is all the way to the left so frame 1 is on your screen Edit, paste into selection in frame 1- position over the flowers at the top of the boxes and click once to set in place Minimize for now Back to PSP Close the eye on the merged bottom layer Click any other layer to activate it Edit, copy special, copy merged Go to AS and paste as new animation Duplicate until you have 17 layers Edit, select all Edit, copy and then close Maximize your tag layers again Edit, paste into selected frame - in frame 1 - postion and click once to set in place Save as a gif file Thanks for trying my tutorial - enjoy your tag!!! |