
Open a new transparent image 700 x 700 Load your mask with source luminance, fit to canvas and hide all mask checked Flip vertical Merge group Effects, plugins, Neology, Blend Mosaic, tile size set at 28 (If you don't use plugins, try Effects, texture effects, Mosaic-Antique for something similar) Duplicate this layer and then pull down so you have something like this: 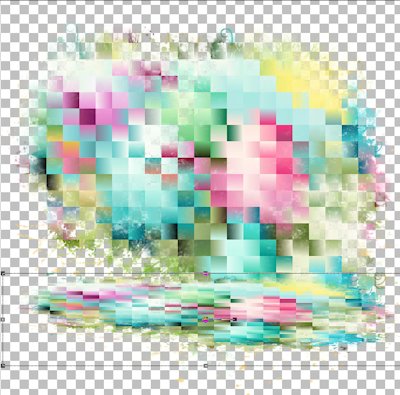 Open e9, resize, paste as new layer and move to the right side Open e10, resize, paste as new layer and move to the left side Open e14, resize, paste as new layer and move to the top left Open e2, resize, paste as new layer and move up a bit Open e5, resize, paste as new layer and move slightly left Open e11, resize, flip horizontal, paste as new layer and move to the right Open e7, resize, paste as new layer and move down Open e4, resize, paste as new layer and move down and to the left I resized e12 and e13, the two chicks, and placed them at the bottom right Go through your layers and add drop shadows, I used 0, 4, 17, 13, black If you plan to resize your tag, do that now before adding any text Add your designer credit - there is no copyright required because these elements were AI generated For designer credit, I used Pixelette, #389fa3, and then layers, properties and reduce to 70% For text I used the font A Hundred Miles, #389fa3 in the foreground and #ffde24 in the background, stroke with 1, Convert to raster and add a drop shadow - I used 0, 3, 17, 3, black Merge visible and save as a png file Thanks for trying my tut! Enjoy your new tag! |