
Install your plugin before beginning Open a new transparent image 600 x 600 and flood fill with white - we will eliminate it when we're finished Open paper 2, resize to 600 x 600, copy, close and paste as new layer Layers, load save mask, load mask from disk Choose Mask65 MB&SW with these settings: 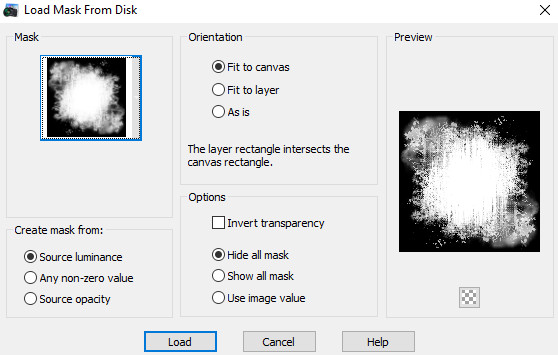 Click Load Layers, merge, merge group Layers duplicate From the top node, pull down until you have something like this  Open element 11, resize to 450 height, copy, close, paste as new layer Move up so the ribbon is near the top of the tag Open the photo you want to use, copy and close, paste as new layer Move below the frame layer Position how you want the photo to appear in the frame Click the frame layer to activate it With your magic wand, click inside the frame Selections, modify, expand, 10 Click the photo layer Edit, cut Selections, select none Delete the photo layer Edit, paste as new layer and move the photo into the frame Make sure the photo layer is below the frame layer Open some of the flowers, resize and arrange them behind the photo layer I used elements 5, 6, and 17 Once you're happy with that, click the frame layer to activate it Open your Veronica Nunez tube, resize to 450 width, copy and close Paste as new layer and move down in front of the bottom of the frame Click the frame layer to activate it again Arrange some of the egss and greenery from the kit behind the bunny Just resize everything to suit the look you want Add the butterfly at the center of the bow Go through your layers and add drop shadows I used 0, 3, 25, 6, black If you want to resize this, do that now before adding any text Delete the white background layer Add your copyright info and license number for the Veronica Nunez tube Add whatever text you want - I did it like an invitation for an egg hunt I used Bluebell, #494e7e and Bumblebee same color, then positioned them and merged them into one layer Selections, select all Selections, float Selections, defloat Selections, modify, Select Selection Borders 2, outside, white New raster layer Fill with white Drop shadow, 0, 2, 25, 2, black Select none Layers, merge, merge visible and save as a png file Hope you enjoy your tag/invitation! Thanks for trying my tut! tagcatz |