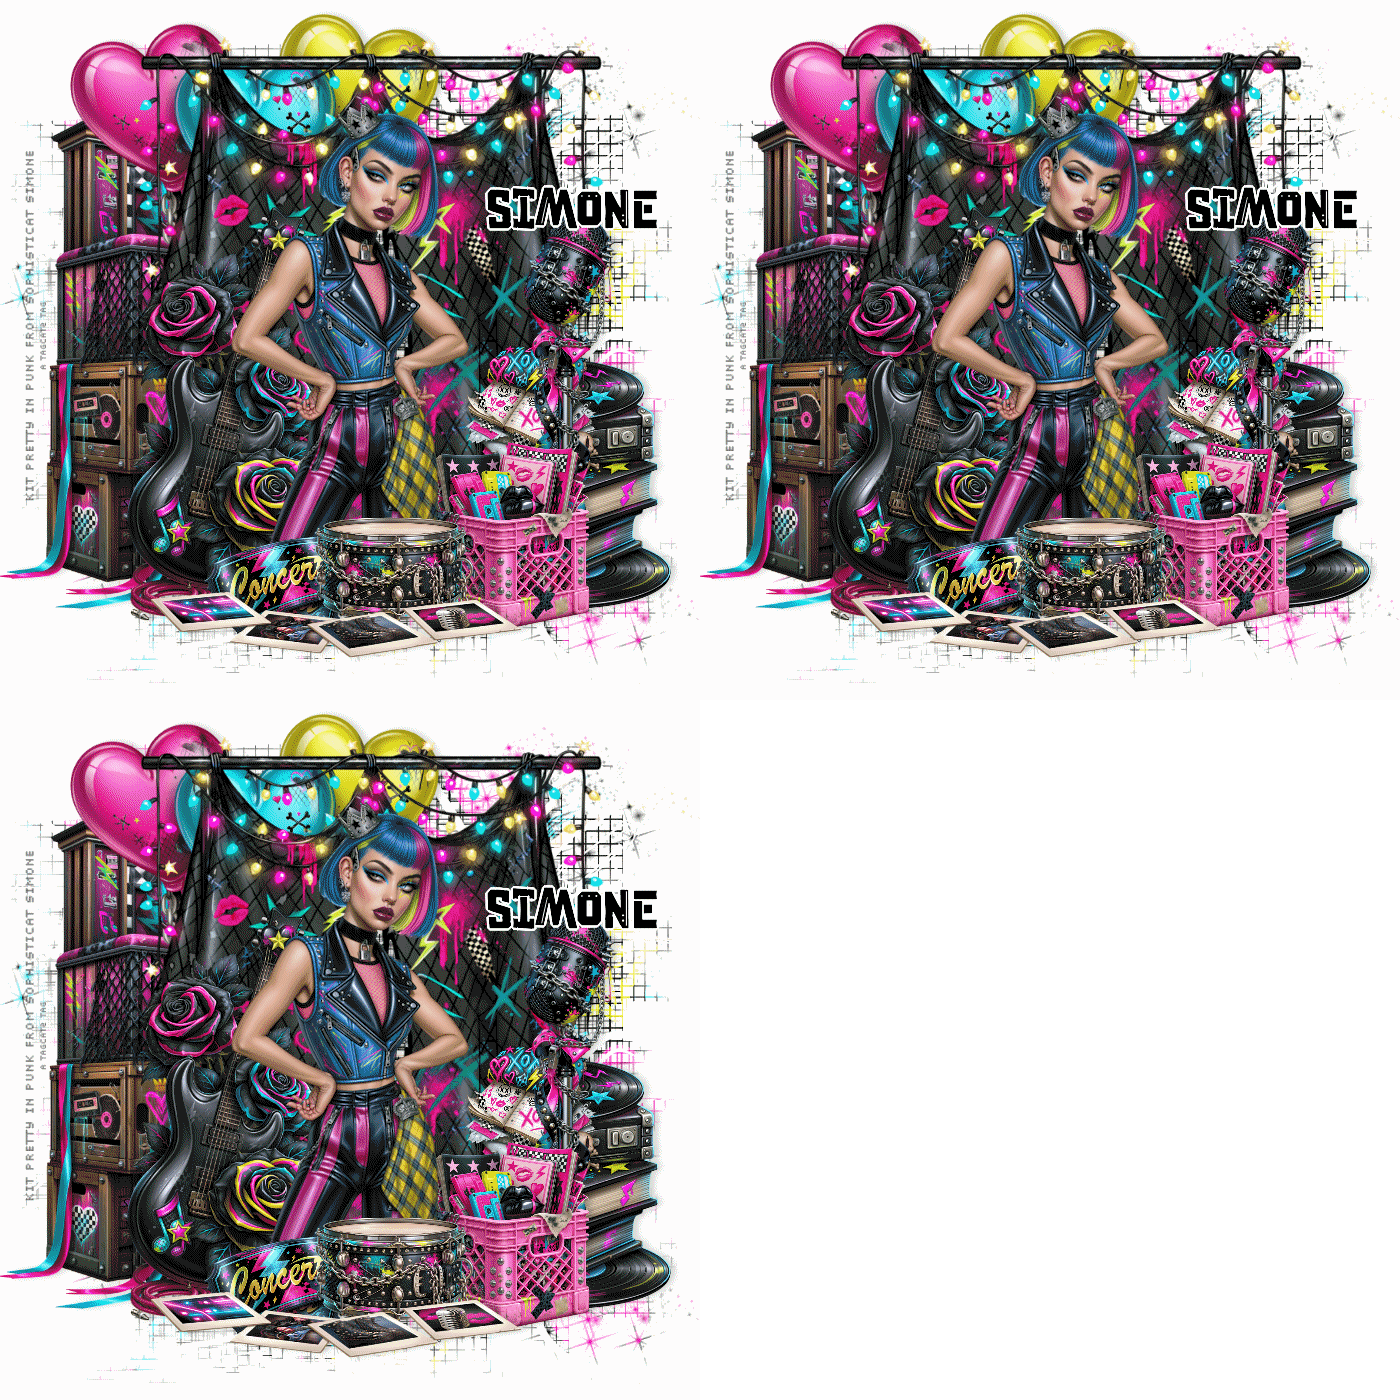
Open a new transparent image 700 x 700 - you can resize later if you like Flood fill with white Open paper 42, resize to 700 width, paste as new layer Load your mask and then merge group Open element 138, resize to about 478 width, flip horizontal, paste as new layer and move to the top left Open element 140, resize to about 465 width, paste as new layer Open element 114, resize to about 315 width, paste as new layer and move to the bottom right, then move this layer down below the curtain Open element 68, resize to about 385 width, paste as new layer and move up and to the left Click your curtain layer to activate it Open element 113, resize to about 210 width, move down and to the left Open element 178, resize to about 147 width, move to the right and down a bit Open element 129B, resize to about 105 width, move to the right and down a bit Open element 143, resize to about 185 width, move down to the bottom and to the right Open tube 3, resize to about 252 width, paste as new layer Now go back to your curtain layer and remove the posts that are below the level of the bottom of the woman's legs Back to the woman layer Open element 14, resize to about 165 width, move down to the bottom of the woman's right leg Open element 122, resize to about 175 width, move down in front of the woman Open element 148, resize to about 384 width, move down to the bottom Go through your layers and add drop shadows to your elements I used 0, 5, 17, 12, black IF YOU ARE NOT ANIMATING Skip the next animation steps and go to ADDING TEXT Duplicate your curtain layer so you have a total of three On the top curtain layer, with your freehand selection tool, outline all the yellow light bulbs Adjust, Brightness and Contrast, Brightness/Contrast, Brightness 52, Contrast 55 Select none On the middle curtain layer, with your freehand selection tool, outline all the pink light bulbs Adjust, Brightness and Contrast, Brightness/Contrast, Brightness 52, Contrast 55 Select none On the bottom curtain layer, with your freehand selection tool, outline all the turquoise light bulbs Adjust, Brightness and Contrast, Brightness/Contrast, Brightness 52, Contrast 55 Select none Click your top layer to activate it ADDING TEXT If you are not animating and want to resize the tag, do that now before adding any text Add your credits and CR, I used Pixelette, black and reduced the opacity to 50% For the text I used Punk Metal, black in the background, foreground null Convert to raster layer Selections, select all Selections, float Selections, defloat Selections, modify, select selection borders, outside 2 New raster layer Flood fill the selection with white Give it a drop shadow - I used 0, 5, 5, 5, black Select none Merge down Position where you want it If you are not animating, delete the white background layer, merge visible and save as a png file To animate Close the eye on the middle and bottom curtain layers Click the top curtain layer to activate it Edit, copy special, copy merged Go to AS and paste as new animation Back to PSP, close the eye on the top curtain layer Open the eye on the middle curtain layer and make sure to click that layer to activate it Edit, copy special, copy merged Go to AS and paste after current frame Back to PSP, close the eye on the middle curtain layer Open the eye on the bottom curtain layer and make sure to click that layer to activate it Edit, copy special, copy merged Go to AS and paste after current frame Edit, select all Animation, frame properties, change to 20 Save as a gif file Thanks for trying my tut - I hope you enjoy your new tag |