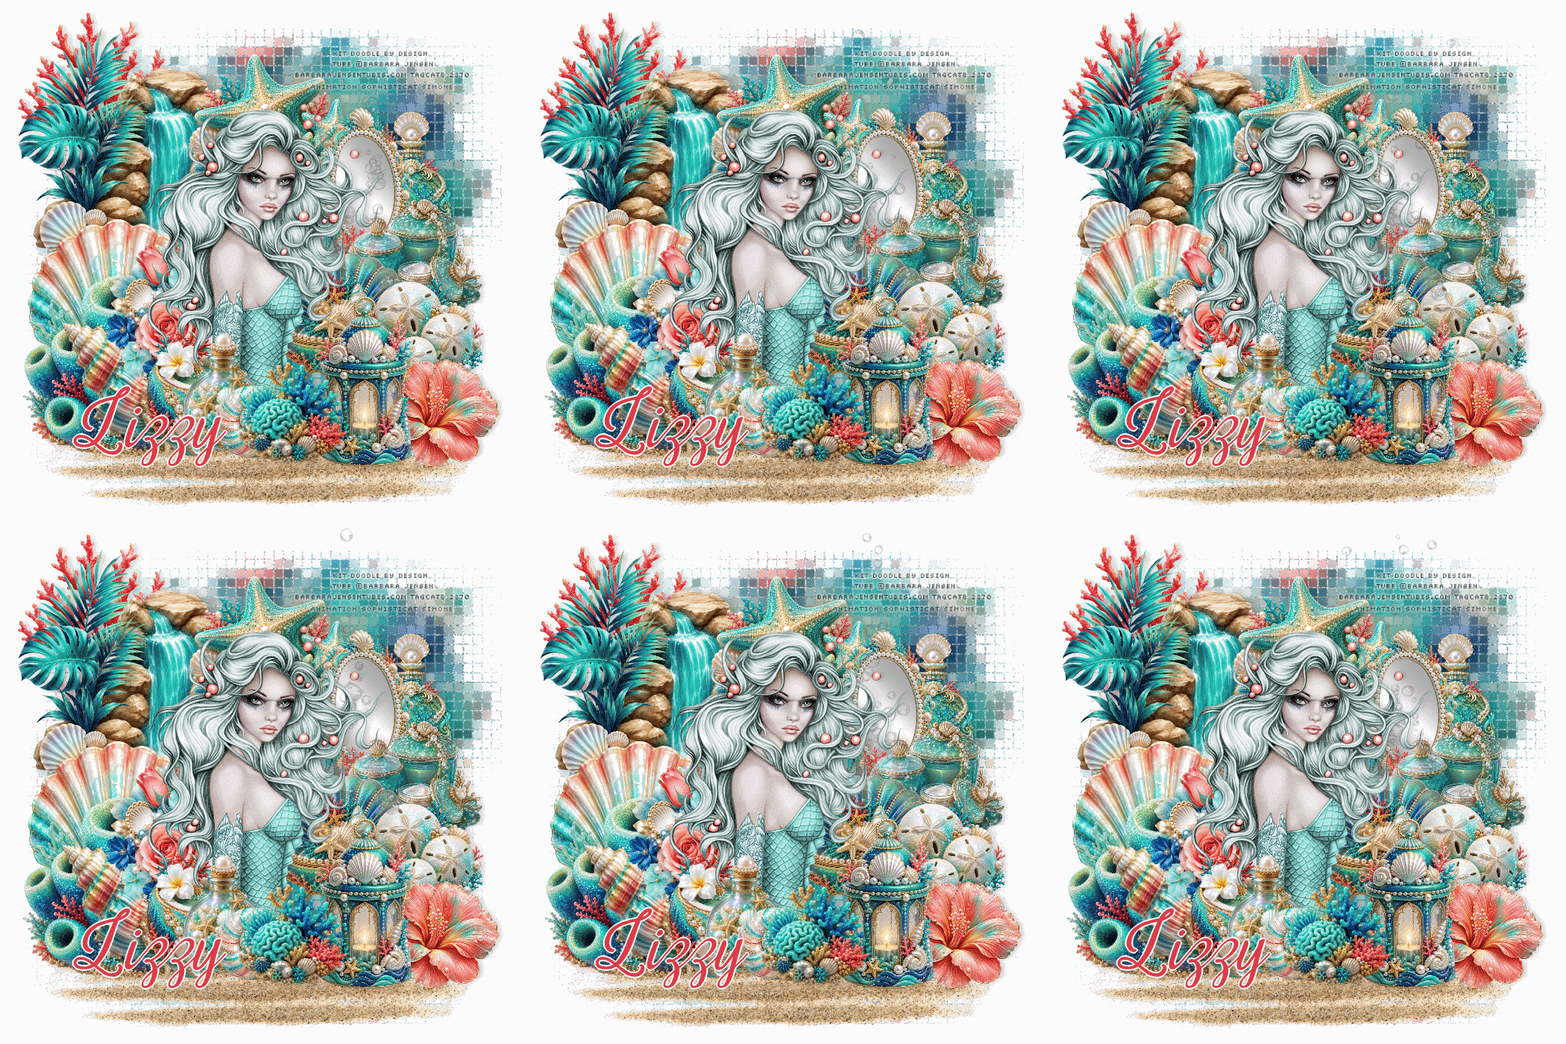
Open AS and minimize for now In PSP open a new transparent image 700 x 700 - you can resize later if you like Flood fill with white Open paper 6, resize to 700 width, paste as new layer Adjust, blur, gaussian blur, 6 Effects, texture effects, Mosaic Antique with these settings 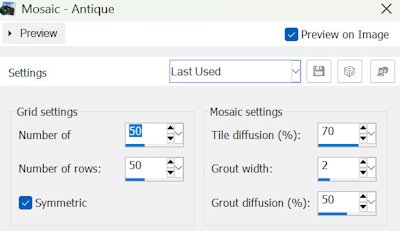 With your pick too, pull in from the top left corner about 40px to make the mask a bit smaller Open element 159, move to the bottom Open element 51, resize to about 220 width, move to the top left Open element 41, resize to about 375 width, move to the top left overlapping the coral Open element 45, resize to about 250 width, move to the left, overlapping the waterfall Open element 61, resize to about 297 width, move to the bottom left Open element 4, resize to about 255 width, move up overlapping the edge of the waterfall Open element 44, resize to about 215 width, move to the bottom left Open element 124, resize to about 245 width, move down a bit and to the left Open element 78, resize to about 125 width, move up and to the right Open element 82, flip horizontal, resize to about 157 width, move up and right a bit Open element 79, resize to about 210 width, move to the right Open element 80, resize to about 215 width, move to the right Open element 5, resize to about 170 width, move to the right and down just a bit Open element 120, resize to about 180 width, move to the bottom right Open element 91, resize to about 165 width, move down to the left overlapping the flowers Open your Barbara Jensen tube - choose your layers and colors - resize - then paste as new layer on your tag My size was 330 x 435 for the tube Put some smaller elements along the bottom of the tube I used elements 66, 47, 16 and 58 Go through your layers and add drop shadows, I used 0, 5, 14, 10, black IF YOU ARE NOT ANIMATING If you want to resize, do that now before adding any text Add your CR and any credits For my text I used Sweet Home Savannah, foreground closed, background #dc404c Convert to raster layer Selections, select all Selections, float Selections, defloat Selections, modify, select selection borders, outside 2 New raster layer Fill the selection with white Give it a drop shadow - I used 0, 5, 5, 5, black Select none and then merge down Position where you want it Delete the white background layer Merge visible and save as a png file IF YOU ARE ANIMATING Add drop shadows, credits and text as above but leave the white background layer Starting with the layer below the woman, merge down to and including the white background layer Copy this merged layer and go to AS and paste as new animation Duplicate until you have 18 frames and then minimize for now Open animation 1344 from Pack 471 Edit, select all Animation, cull animation, 1 frame in every 5 Animation resize animation to 65% Edit, copy and then close Maximize your tag frames Edit, select all Make sure your slider is all the way to the left so Frame 1 is on your screen Edit, paste into selected frame - Frame 1 Position where you want the bubbles and then click once to set in place Minimize for now Back to PSP Close the eye on the merged bottom layer Click any other layer to activate it Edit, copy special, copy merged Back to AS and paste as new animation Duplicate until you have 18 frames Edit, select all Edit, copy and then close Maximize your tag frames again Edit, paste into selected frame - again frame 1 Position and then click once to set in place Save as a gif file Thanks for trying my tut - enjoy your tag! |