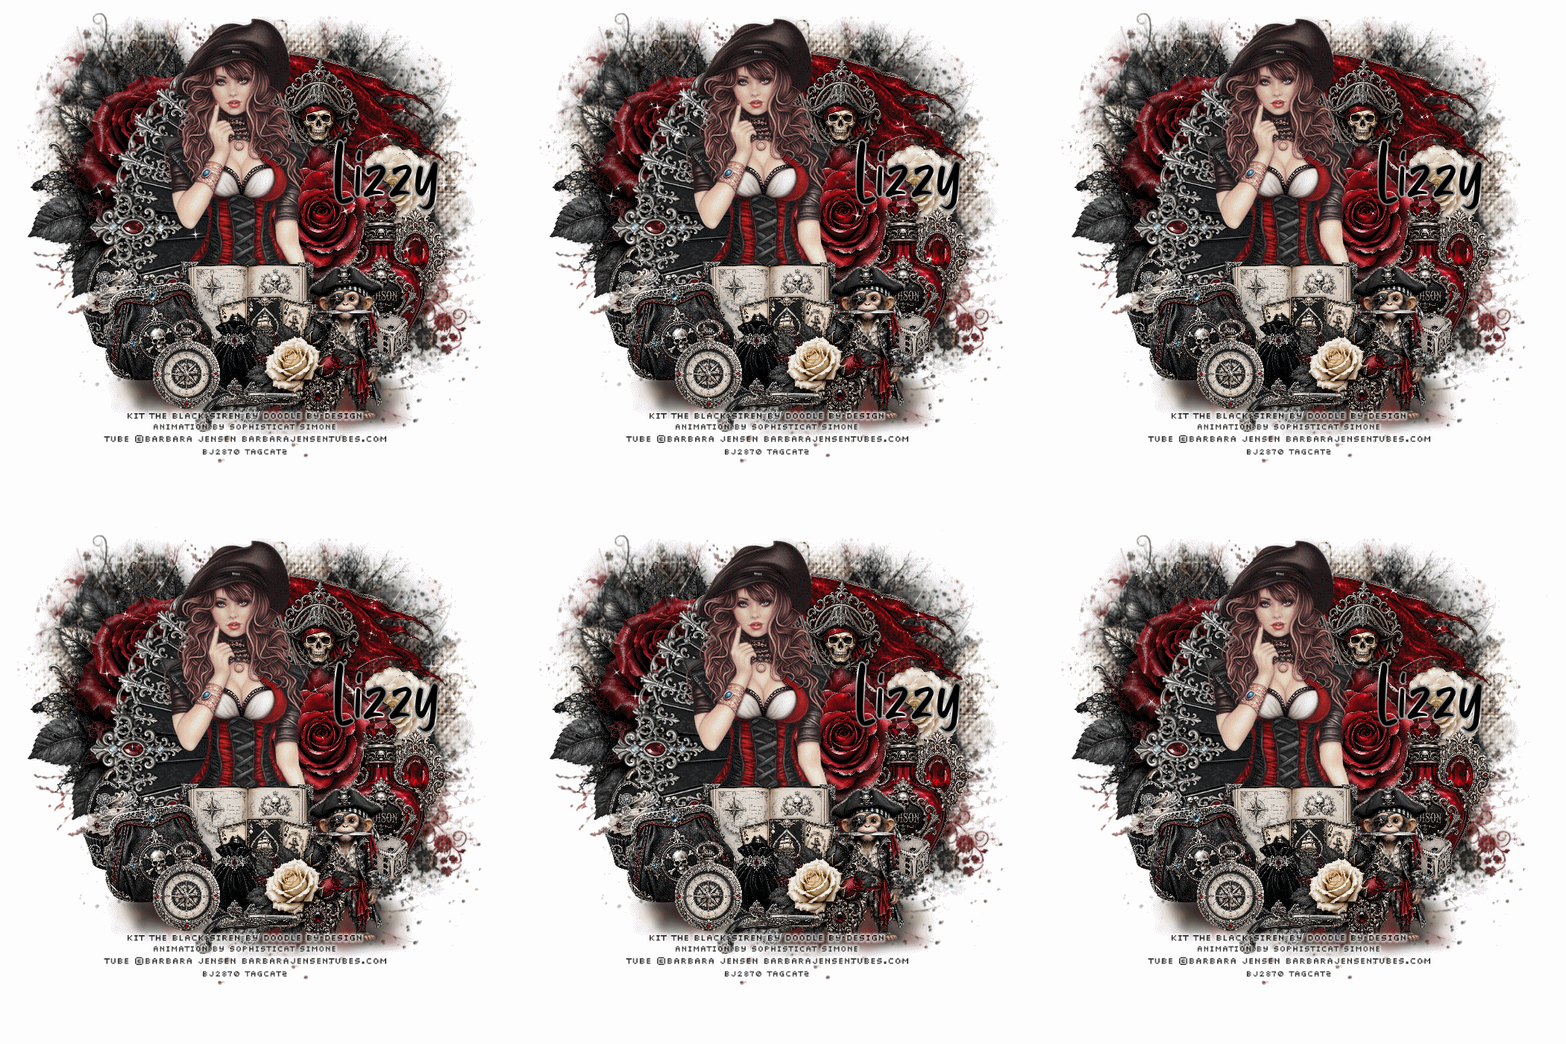
Open AS and minimize for now In PSP open a new transparent image 700 x 700 - you can resize later if you like Flood fill with white Open paper5, resize to 700 width, paste as new layer Load your mask with source luminance, fit to canvas and hide all mask checked Merge group Effects, texture effects, texture and choose blgr079 with these settings 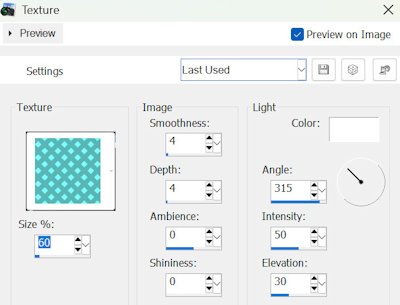 Duplicate this layer With your pick tool, pull down from the top to make a "floor" Adjust, blur, gaussian blur, 6 Reduce the width to about 440 amd center it horizontally Open element 151, resize to about 435 width, move to the top left Open element 10, resize to about 285 width, move to the top right I removed the finial at the top of the pole so it wouldn't stick out above the woman's head Open element 113, rotate left 90, resize to about 480 width, move to the left a bit Open element 164, resize to about 130 width, move up to the right a bit Open element 76, resize to about 110 width, move right so it overlaps the bottom of the flower a bit Open element 162, resize to about 220 width, move slightly up and right Open element 50, resize to about 140 width, move to overlap the right side of the red rose Open your Barbara Jensen tube, copy, close and paste as new layer Eventually, you'll remove the bottom part of the tube, but leave it now for placement - you can remove later Open element 91, resize to about 205 width, move down a bit to the bottom of the woman's corset Now you can delete the bottom part of the tube that shows below the map book Open element 47, resize quite small and move to the bottom right overlapping the map book Open element 48, resize quite small and move to overlap the bottom of the poison bottle Open element 78, resize quite small, move to overlap the left bottom of the map book Open element 30, resize to about 145 width, move so he overlaps the left dice Open element 150, resize to about 150 width, move down and just to the left of the monkey Open element 67, resize to about 105 width, move down to the left about even with the map book Open element 34, resize to about 165 wdith, move down to the left, overlapping the cupcake Rotate left just a bit Open element 104, resize to about 105 width, move down to overlap the purse just a bit Open element 24, resize quite small and move to the bottom center Go through your layers and add drop shadows to your elements - I used 0, 5, 15, 12, black IF YOU ARE NOT ANIMATING THE TAG, resize if you want and then add your copyrights/credits and text Then delete the white background layer and save as a png file IF YOU ARE ANIMATING THE TAG Add your copyrights/credits and text For my text I used Poetry of Silence, silver in the foreground, black in the background Convert to raster and give it a drop shadow - I use 0, 5, 5, 5, black Starting with the layer below the woman, merge down to and including the white background layer Copy this merged layer and go to AS and paste as new animation Duplicate until you have 13 frames and then minimize for now Open the animation Celine004 mng file Edit, select all Edit, copy and then close Maximize your tag frames and make sure you slider is all the way to the left so Frame 1 is on your screen Edit, select all Edit, paste into selection - in Frame 1 - position mostly to the left side of where the woman will be and click once to set in place Edit, paste into selection, in Frame 1 - position mostly to the right side of where the woman will be and click once to set in place Minimize your tag frames again Back to PSP, close the eye on the bottom merged layer Click any other layer to activate it Edit, copy special, copy merged Go to AS and paste as new animation Duplicate until you have 13 frames Edit, select all Edit, copy and the close Maximize your tag frames again Edit, paste into selected frame - Frame 1 Position and then click once to set it in place Save as a gif file Thanks for trying my tutorial - enjoy your tag!!! |