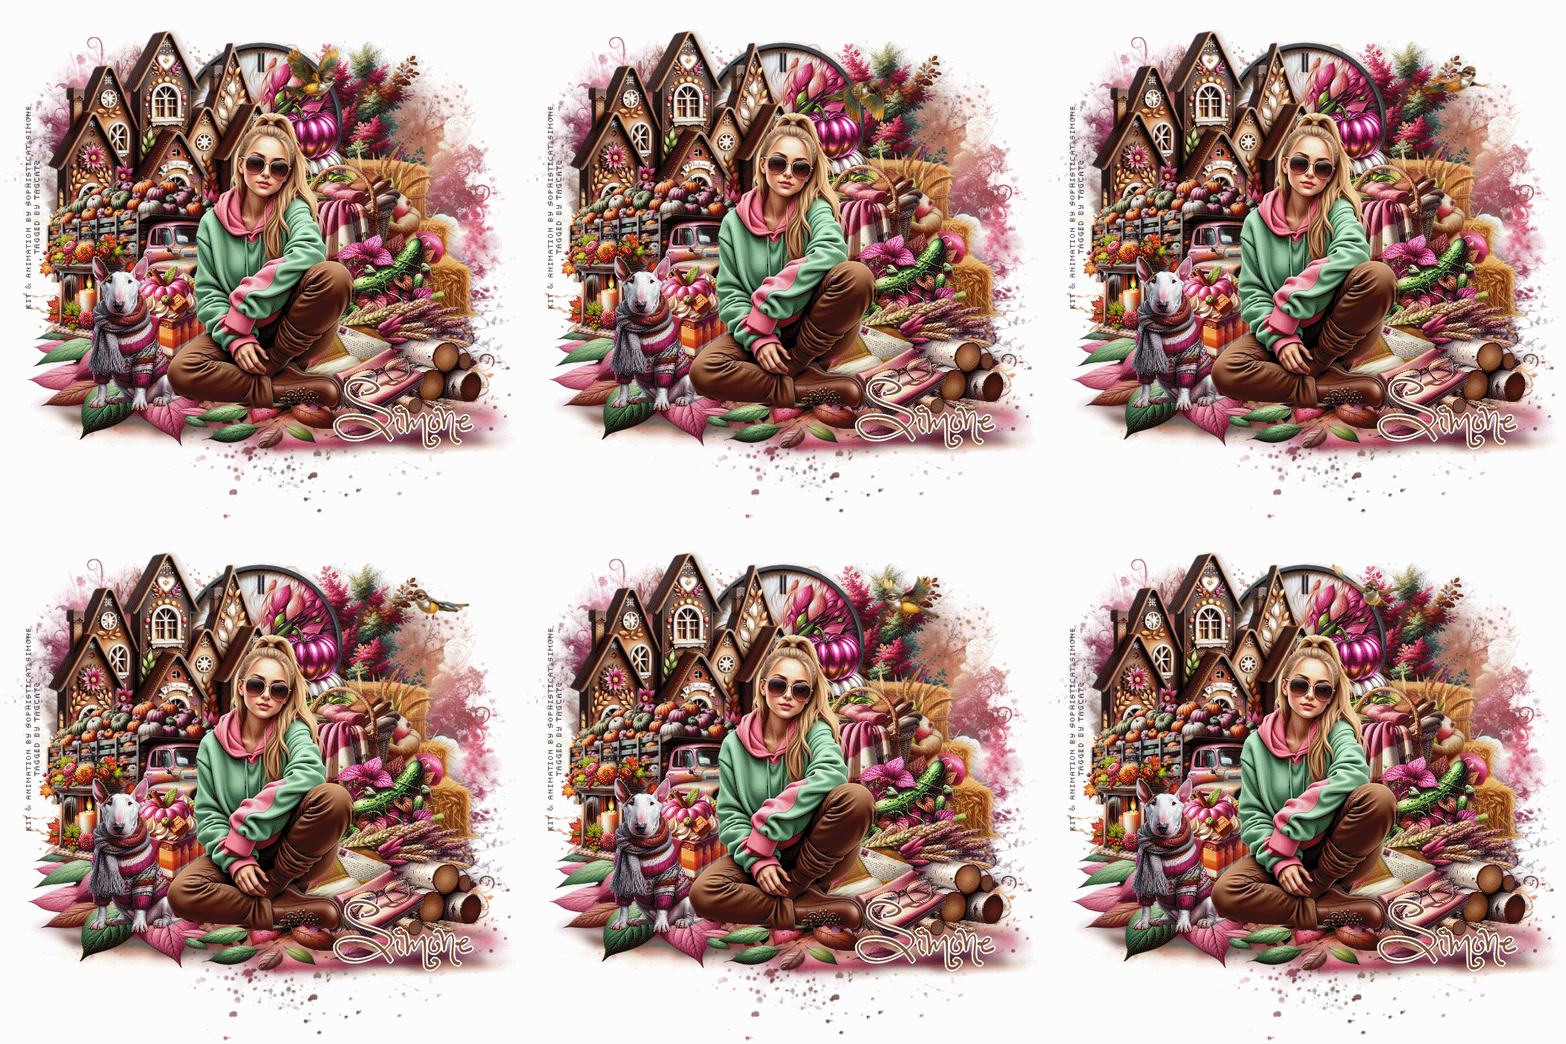
Open AS and minimize for now Open a new transparent image 700 x 700 - you can resize later if you like Flood fill with white I find it easier when using a tube to put it on the tag and work around it, but if you're not using the same tube as I did, you'll need to adjust accordingly I used tube 17, resized to 268 x 414 and paste as new layer (I used smart size) Click the white background layer to activate it Open paper 43, resize to 700 width, paste as new layer Layers, load/save mask, load mask from disk with source luminance, fit to canvas and hide all mask checked Layers, duplicate Adjust blur, gaussian blur, 6 With your pick tool, pull down to make a kind of "floor" beneath the girl Open element 158, resize to about 365 width, move down and to the bottom left Open element 160, resize to about 315 width, move down under the girl Open element 3, resize to about 300 width, move up and to the right a bit Open element 131, resize to about 295 width, move up a bit and to the right side Open element 120, resize to about 235 width, move up behind the girl's head Open element 113, resize to about 335 width, move to the top left Open element 150, resize to about 315 width, flip horizontal, move to the left side overlapping the house Open element 52, resize to about 145 width, move left overlapping the truck Open element 77, resize to about 140 width, move down and bit and to the left Open element 152, resize to about 165 width, move up to the right of the girl's head Open element 109, resize to about 185 width, move up a bit and to the right overlapping the bottom of the pumpkins Open element 60, resize to about 157 width, move to the right Open element 5, resize to about 290 width, move to the bottom right Open element 33, flip horizontal, resize to about 140 width, move down and slightly right Open element 106C, resize to about 135 width, move down to the bottom overlapping the letter Open element 21, resize to about 145 width, move to the bottom left Go through your layers and add drop shadows, I used 0, 5, 16, 12, black IF YOU ARE NOT ANIMATING If you are going to resize, do that now before adding any text Add any credits or copyrights - I used Pixelette, black Add your text - any nice font will do - I used #87553a background, foreground null Convert to raster layer Selections, select all Selections, float Selections, defloat Selections, modify, select selection borders - outside, 2, anti alias checked New raster layer Fill the selection with white Give it a drop shadow - I used 0, 5,5,5, black Merge down and position where you want it Delete the white background layer and save as a png file IF YOU ARE ANIMATING Add your credits, CR and text as above leaving the white background layer in place Merge all, flatten Copy and go to AS and paste as new animation Duplicate until you have 16 frames and then miminize for now Open your bird animation Edit, select all Animation, cull animation 1 in every 5 frames Repeat You should now have 16 frames Animation, resize animation to 40% Edit, copy and then close Maximize your tag frames Edit, select all Move your slider all the way to the left so Frame 1 shows on your screen Edit, paste into selected frame - Frame 1 Position where you want it and then click once to set in place Save as a gif file Thanks for trying my tut - enjoy your tag! |