
Unzip and install Italian Editor Effects plugin to your PSP plugins folder Unzip the animations file from Sophisticat Simone Open a new transparent image 700 x 700 - you can resize later if you like. Fill with white Open paper 6, resize to 700 x 700, copy and close Paste as new layer Layers, Load Save Mask, Save mask from disk Choose MB&SW #66 with Source Luminance, Fit To Canvas and Hide All Mask checked Image, flip vertical Layers, merge, merge group Effects, Plugins, Italian Editor Effects, Mosaico with these settings: 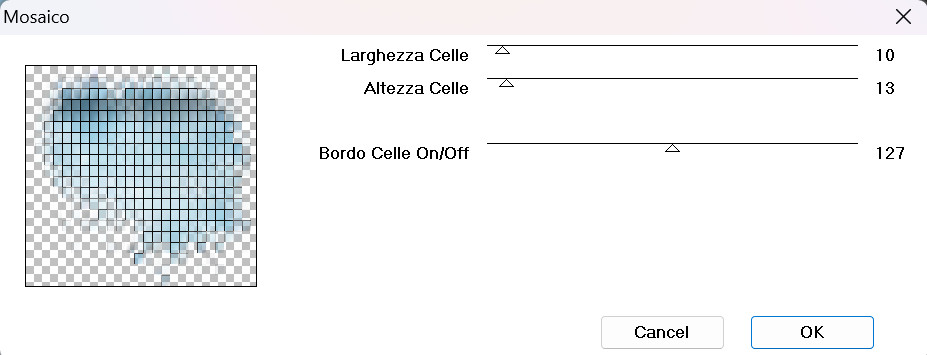 Open element 77, resize to 400 width, copy, close and paste as new layer Move up a bit Click your group layer to activate it Add a couple of sizes of snowflakes to the top right, and some flowers on the top left and left side I used element 9 snowflakes, elements 49 and 14 for the florals Click your shelf unit to activate it Open element 72, resize and move down and to the left Open element 94, resize and move to right side Open your Daisy tube #2, resize and move to the right Open element 45, resize and move so it overlaps the bottom of the tube Open element 87, reize and move down in front of the gift you just placed Open element 54, resize and move down and slightly to the left, overlapping the stack of gifts Open element 41, resize and move to the bottom right Open element 43, resize and move down and overlapping the florals Open element 42, resize and move down in front of the first candle Open element 40, resize and move to the top left corner of the cabinet Open element 64, resize and move to the bottom left Open element 13, resize and move down between the ornament and the candles Add drop shadows to your elements, I used 0, 4, 17, 4, black If you're going to resize the tag, do that now before adding any text or credits Add credits for Curious Creative Design - I used Pixelette, black, and reduced the layer opacity to 70% Add your name - any nice script font, in a dark blue from the tag If you're not going to animate, delete the white layer and save as a png file. (don't do this step if you're animating) TO ANIMATE Open Animation Shop Open Sophisticat Simone's animation #513 mng file Edit, select all Animation, cull animation, 1 frame in ever 5 frames (you should have 15 frames now) Minimize for now Go back to PSP and click on the shelf layer to activate it Merge down....and keep merging down until you've got all layers below it merged into one Copy the merged layer, and go to Animation Shop (AS) Edit, paste as new animation and then click on it so it's active Edit, duplicate selected....and repeat until you have 15 frames Minimize for now Click on the bar at the bottom for the animation to bring it back on the screen again Edit, select all Edit, copy and then close it Click on the bar at the bottom for the tag frames Edit, select all Make sure your bottom slider is all the way to the left so that frame 1 is on your screen Edit, paste into selected frame (frame 1) Position the animation around the middle of the tag and then click once to set it in place Minimize for now and go back to PSP Close the eye on the bottom merged layer Click any other layer than the bottom one to activate it Edit, copy special, copy merged Back to AS and paste as new animation Duplicate until you have 15 frames Edit, select all, edit, copy and then close Click the bottom bar to reactivate your animation tag Edit, paste into selection - same as before - into frame 1 Position how you like and then click to set it in position Save as a gif file Enjoy your new tag & thanks for trying my tut! |